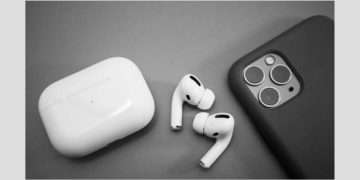
Connecting AirPods to your Macbook is an easy process and can be done with just a few simple steps.
First, you’ll need to make sure that both your Mac and AirPods are up-to-date on the latest software. On your Mac, go to System Preferences > Software Update and make sure all updates have been installed. To check if your AirPods are up-to-date, open the case near your Mac, then hold down the setup button on the back. Your AirPods should display how much battery they have left as well as what version of firmware they’re running. If your AirPods aren’t on the latest version of firmware, follow these instructions from Apple to get them updated.
Once your devices are all up-to-date, follow these steps to connect the AirPods to your Mac:
1. Open the AirPods case and make sure both buds are inside.
2. On your Mac, go to System Preferences > Bluetooth and make sure it’s enabled.
3. The AirPods should appear in the list of available Bluetooth devices on your Mac; select them and click “Connect” when prompted.
4. You’ll likely need to enter a password or use Touch ID if you have one set up on your Macbook; enter it accordingly or authorize with Touch ID when prompted.
5. Once the AirPods have been successfully connected, you should see them appear in the Bluetooth menu under “My Devices”.
And that’s it! You’re now ready to use your AirPods with your Macbook. Enjoy listening to music and taking calls wirelessly from your Macbook.


